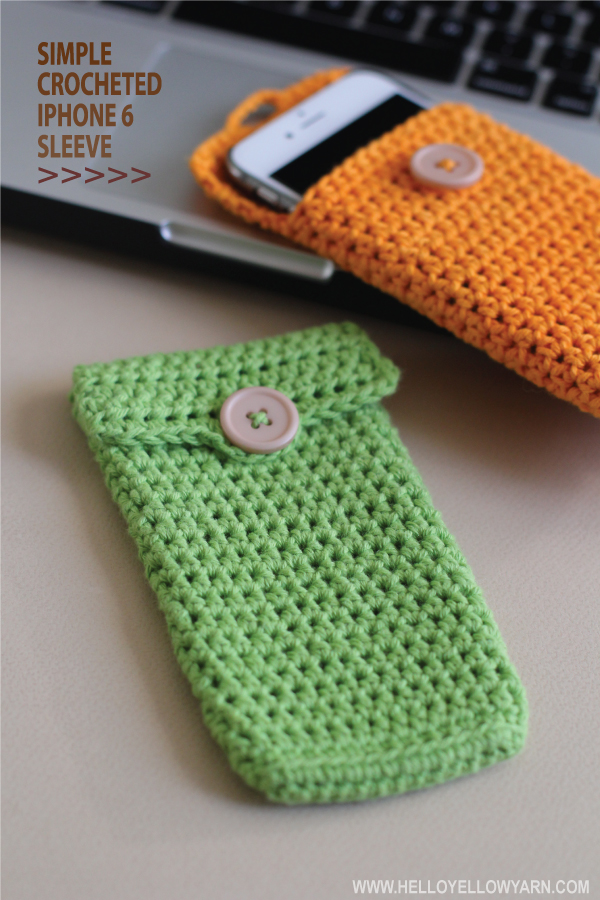
I was extremely excited last month when the iPhone 6 was released here in Australia. I just couldn’t wait to get a new phone. And, no I wasn’t one of the 1400 people who queued outside the Apple Store waiting to be the first few iPhone 6 owner. That’s just crazy! I did get the phone on the release day however.
So I went from a 4S to a 6 and noticed the considerable size difference. I never got the chance to have a little sleeve for my old phone and since this was a brand new phone, I wanted to give it some extra protection. I’m the type of person that “throws” anything and everything into my big old hand bag. So some things get all rattled in there and I didn’t want my new phone getting all scratched up even though it has a clipped on cover. Now that I have a little more experience with crochet, I decided to make it a little sleeve.
While I’ve made this sleeve for an iPhone, I understand that there are a lot of different types of smart phones so I’ve intended for the following to be more a tutorial than a pattern to suit everyone’s phone size. Keep in mind with steps 8 and 9 below to stitch the numbers of stitches required for your phone. If your phone is smaller, then you’ll need to make less rounds. If your phone is wider, you may want to add an extra chain or 2 at the beginning. Just keep slipping your phone in as you crochet so you get the exact size.
For this sleeve, I used an 8 ply cotton yarn and a size 3.5mm hook. Cotton yarn is thinner than your average wool yarn so if you’re going to use wool, you may want to keep your stitches tighter or use a smaller hook.
Got your phone? Are you ready? Let’s crochet!
Terms (I follow US terminology):
SC – Single Crochet
HDC – Half Double Crochet
You’ll need:
8 ply Cotton Yarn
3.5mm hook
Scissors
Yarn Needle
Button (at least 1.5cm in diameter)
1. Chain 15.
2. Skip 1st chain from hook. 1 SC into next 13 chains. 2 SC into next chain. (15 stitches)
3. 1 SC into next 13 free loops (also known as unused loops).
4. You should have a total of 28 stitches. DO NOT join round. Work continuously in the round.
5. 1 SC in each of the 28 stitches in the back loops only.
6. Your work will naturally curve outwards.
7. 1 HDC in each of the 28 stitches around working on both loops from here on.
8. Make the stitches tighter around the sides for a snug fit your phone.
9. Continue to make stitches until you have reached the desired height for your phone. Mine worked out at 22 rounds – that’s including the first round. To make the cover, make sure you start off your stitch from the right side – (see above picture, no. 9). Chain 1 then turn your work.
10. HDC next 14 stitches.
11.Chain 1 and turn. HDC next 14 stitches. Repeat this until you have 5 rows.
12. Chain 1, turn.
13. 1 SC into next 6 stitches.
14. Chain 6.
15. Skip 2 stitches. 1 SC into next 5 stitches. 2 SC into last stitch. Slip stitch into next stitch to finish off. Cut yarn and weave into stitches to hide.
16. Slip your phone into the sleeve. Fold the cover to the front and mark the spot where you will stitch your button.
Sew in your button and you’re done!
Neat, very simple and easy to make and it looks great. I made my first sleeve during my lunch hour at work. It’s that quick and easy. I have made about 4 sleeves already.
Use your favourite colour or colours to really personalise your sleeve.
Happy crocheting! Have a fantastic week!
xoxo
MJ


